

How to Create Cinematic Motorcycle Route Projection Images Using AI
May 22, 2026 | by AIPromptAura
How to Create Cinematic Motorcycle Route Projection Images Using AI
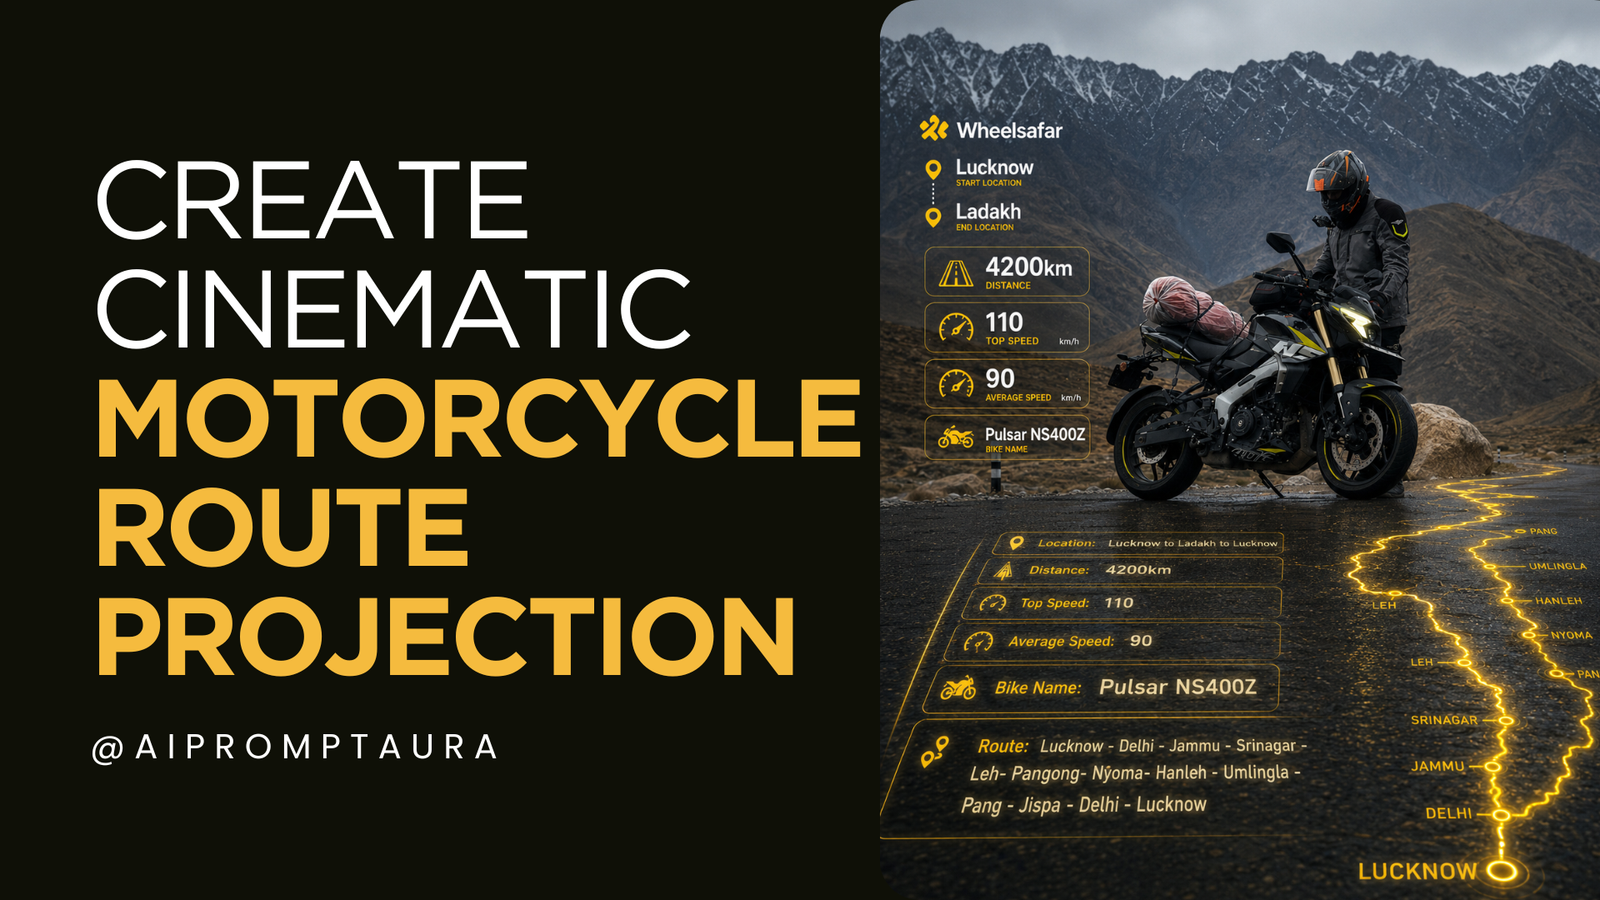
AI-generated cinematic biker visuals are becoming one of the biggest trends in travel and motorcycle storytelling. By combining a real biker photograph with route stats, glowing road maps, and realistic environmental lighting, you can create a premium “movie-poster” style image that looks incredibly realistic.
In this guide, you’ll learn a simple 4-step workflow to create stunning Wheelsafar-style biker journey visuals using AI image generation prompts.
Step 1 — Choose the Right Biker Photo
Start with a strong biker photograph.
For best results:
- Use a high-resolution image
- Keep the rider fully visible
- Avoid heavy blur or low light
- Ensure the bike and road are clearly visible
- Mountain roads, highways, or adventure landscapes work best
The rider photo should already have:
- Natural cinematic lighting
- Strong composition
- Real travel atmosphere
- Clear road perspective
This image becomes the foundation of the final cinematic composition. 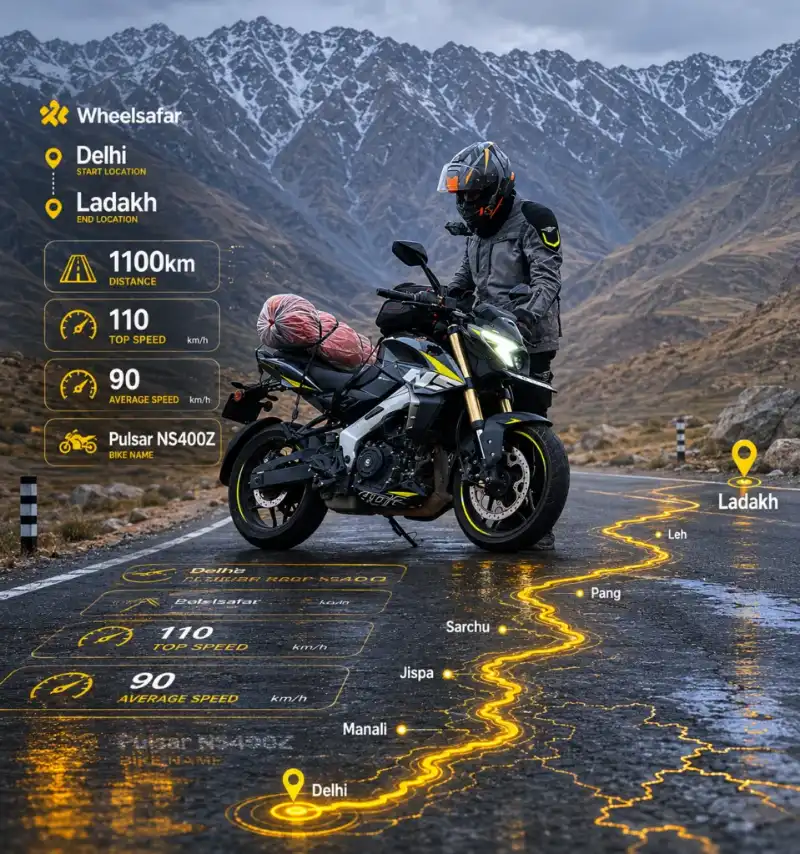
Step 2 — Collect Your Ride Statistics
Prepare the journey data you want to display in the image.
Example:
- Start Location
- Destination
- Total Distance
- Top Speed
- Average Speed
- Bike Name
- Route Stops
Example route:
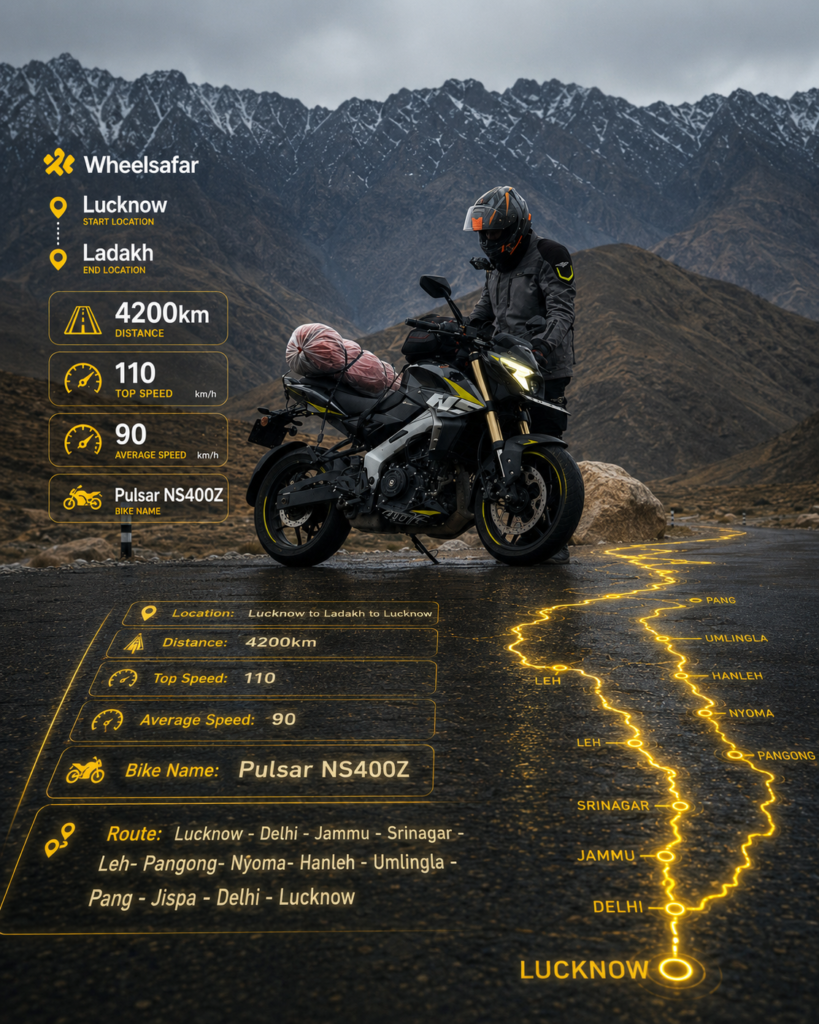
Lucknow → Delhi → Jammu → Srinagar → Leh → Pangong → Hanleh → Umlingla → Delhi → Lucknow
These stats will later be embedded directly into the road surface for a futuristic cinematic effect.
Step 3 — Use a Detailed AI Prompt
The quality of the final image depends heavily on prompt engineering.
🎥 Reference Video
👉 Watch the reference Post here: Click Here to Check
Here is the complete cinematic prompt:
AI Prompt
Use the uploaded biker photo as the ONLY human subject. Preserve the rider’s exact identity, facial structure, skin tone, hairstyle, riding gear, helmet, gloves, boots, body proportions, posture, and original pose with complete accuracy. Do not beautify, stylize, exaggerate, or alter the rider in any way. Maintain a completely realistic cinematic look.
Integrate the biker image with the provided Wheelsafar ride statistics screenshot into one ultra-realistic cinematic composition. Every visible detail from the ride stats screenshot must be reproduced exactly as shown, including all numbers, labels, route paths, icons, formatting, spacing, colors, and branding elements. Do not redesign, reinterpret, approximate, simplify, or replace any UI detail.
The Wheelsafar ride data must appear naturally embedded into the road surface beneath and around the biker, as if physically projected, illuminated, painted, or digitally mapped onto the asphalt. The UI should follow the perspective of the road with realistic depth, surface texture interaction, reflections, environmental lighting, motion realism, and cinematic glow. Avoid floating hologram effects or disconnected overlays.
Project the exact route map from the screenshot onto the ground in realistic 3D perspective. The glowing route should become the primary road path extending beneath and ahead of the biker, while subtle route extensions frame the rider naturally on the asphalt. Add realistic perspective distortion, edge illumination, light spill, asphalt texture blending, and depth integration so the route feels physically part of the environment.
Include these ride details exactly as provided:

• Location: Lucknow to Ladakh to Lucknow

• Distance: 4200km

• Top Speed: 110

• Average Speed: 90

• Bike Name: Pulsar NS400Z

• Route: Lucknow – Delhi – Jammu – Srinagar – Leh – Pangong – Nyoma – Hanleh – Umlingla – Pang – Jispa – Delhi – Lucknow
Maintain the original biker photo’s environment, camera angle, composition, lighting conditions, weather mood, shadows, and cinematic atmosphere exactly as they are. Only integrate the Wheelsafar UI and route graphics seamlessly into the scene without changing the natural realism of the original image.
The route glow must match the authentic Wheelsafar yellow theme with vibrant golden-yellow illumination, cinematic contrast, realistic reflections, and natural environmental interaction. Ensure the final output looks like a high-budget cinematic motorcycle campaign shot captured in-camera rather than an edited graphic overlay.
Ultra-realistic, cinematic, photorealistic, high-detail asphalt textures, realistic shadows, natural reflections, dynamic lighting, immersive depth, volumetric atmosphere, premium and high quality color grading, realistic road perspective, 8K quality, sharp focus, dramatic composition.
Step 4 — Generate & Refine the Image
Now generate the image using your preferred AI tool.
Best practices:
- Use cinematic aspect ratios like 16:9 or 4:5
- Keep realistic lighting
- Avoid cartoon or stylized rendering
- Use ultra-realistic settings
- Increase detail and texture quality
- Keep route glow integrated into the road
For social media:
- 4:5 works best for Instagram posts
- 9:16 works best for Reels & Stories
- 16:9 works best for YouTube thumbnails and cinematic banners
Final Result
Using this workflow, you can create:
- Cinematic motorcycle posters
- Travel campaign visuals
- Route showcase graphics
- Adventure storytelling content
- Instagram viral biker edits
- Premium Wheelsafar-style compositions
The key is realism:
The route graphics should feel physically embedded into the environment instead of floating artificially.
When done correctly, the final image looks like a scene from a high-budget motorcycle documentary or cinematic travel film.
RELATED POSTS
View all

How to Use the Radha Radha Thumbnail Prompt in 5 Easy Steps for Stunning YouTube Thumbnails
April 29, 2026 | by AIPromptAura